
The cascade technique is one of the most dramatic and visually striking bonsai styles, evoking the image of a tree growing on a steep mountainside or cliff, bending downward in response to gravity and environmental conditions. Styling a fruit bonsai using the cascade technique presents a unique challenge, as you must balance the natural beauty of the tree with its ability to produce fruit. This guide provides step-by-step instructions on creating a stunning fruit bonsai in the cascade style, from choosing the right tree to maintaining its health and aesthetics.
Understanding the Cascade Style
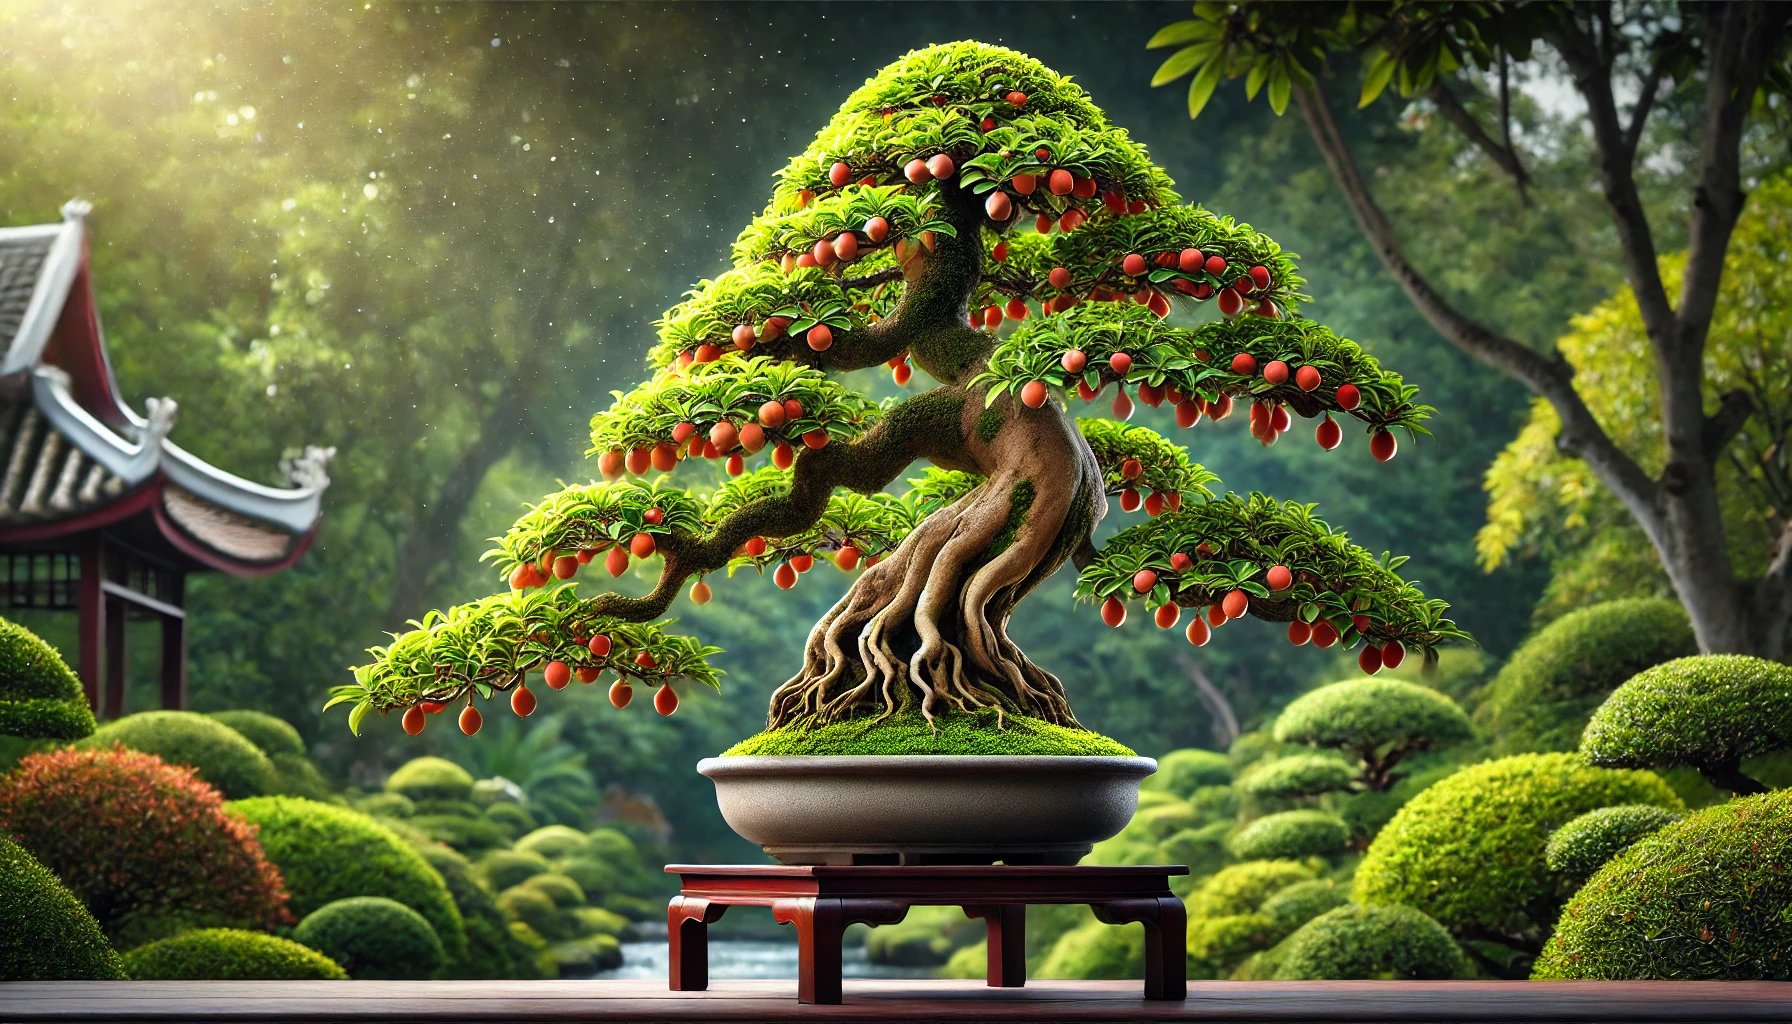
The cascade style, or Kengai in Japanese, is characterized by a trunk that grows downward below the base of the pot, mimicking trees found in harsh natural environments. The tree’s trunk starts upright but soon bends sharply downward, with secondary branches extending outward to create balance. For fruit bonsais, this style emphasizes the visual weight of the cascading trunk while showcasing blossoms and fruits in a harmonious and artistic manner.
There are two primary variations of the cascade style:
- Full Cascade (Kengai): The trunk extends below the base of the pot, often reaching or curling toward the stand.
- Semi-Cascade (Han-Kengai): The trunk descends but does not go below the base of the pot, creating a more subtle cascading effect.
Choosing the Right Fruit Tree for Cascade Styling
Not all fruit trees are well-suited for the cascade style. The ideal species should have flexible branches and a growth habit that allows for bending without breaking. Consider these popular fruit trees for cascade bonsais:
- Pomegranate (Punica granatum): Flexible branches and vibrant flowers make it a popular choice.
- Fig (Ficus carica): Hardy and adaptable, with unique fruits that complement the cascade design.
- Lemon (Citrus limon): Adds a tropical flair with its bright yellow fruits and fragrant blossoms.
- Cherry (Prunus avium): Offers delicate blooms and small, ornamental fruits.
- Apple (Malus domestica): Dwarf varieties can be styled into a dramatic cascade, with colorful apples adding visual interest.
Ensure that the species you choose matches your local climate and growing conditions. A healthy, flexible tree is essential for achieving a successful cascade design.
Preparing the Tree and Materials
Before styling your fruit bonsai in the cascade technique, gather the necessary tools and materials:
- A shallow bonsai pot designed for cascade styles, often taller to accommodate the descending trunk.
- Bonsai wire (aluminum or copper) for shaping and training branches.
- Sharp pruning shears for precise cuts.
- A well-draining bonsai soil mix tailored to the species.
- A sturdy stand or display platform to highlight the cascading effect.
If you’re starting with a young tree or sapling, ensure it has a strong root system and a healthy trunk to support the cascade design.
Step-by-Step Guide to Creating a Cascade Fruit Bonsai
Step 1: Assess the Tree
Begin by examining your tree to identify its natural curves and growth patterns. Look for a flexible trunk and branches that can be trained downward without excessive force. Select the trunk section that will form the cascade and identify the primary and secondary branches.
Step 2: Prune Unnecessary Growth
Remove any dead, damaged, or unnecessary branches that detract from the desired shape. Prune back overly long shoots and thin out dense areas to improve light penetration and airflow. Keep branches that will contribute to the cascading effect, as well as those that will balance the design.
Step 3: Position the Tree in the Pot
Place the tree in a tall cascade-style pot with adequate drainage. Position the trunk at an angle to encourage the downward cascade. Secure the tree in the pot using wire or ties to stabilize it during the styling process. Add a well-draining soil mix and water thoroughly to settle the roots.
Step 4: Wire the Trunk and Branches
Using bonsai wire, wrap the trunk and branches to guide them into the desired positions. Start by wiring the trunk, applying the wire at a 45-degree angle and bending it gently to create the cascade. Avoid excessive force to prevent damage to the bark or branches.
Next, wire the secondary branches to create a balanced structure. Some branches should extend outward horizontally, while others can follow the downward flow of the cascade. Ensure the fruit-bearing branches are positioned to showcase blossoms and fruits effectively.
Step 5: Shape the Cascade
Bend the trunk downward to form the cascade, with the tip of the trunk curving slightly upward to mimic natural growth. Adjust the wired branches to enhance the overall shape and balance. The tree should appear as though it is reaching for light despite growing downward.
Step 6: Maintain the Style
Remove the wire after six to eight months or once the branches have set in their new positions. Regularly inspect the tree to ensure the wire is not cutting into the bark. Reapply wire as needed to refine the design.
Caring for a Cascade Fruit Bonsai
Maintaining a cascade fruit bonsai requires ongoing care to ensure its health and aesthetic appeal. The following practices are essential for long-term success:
Watering
Cascade bonsais require consistent watering to support their unique growth pattern and fruit production. Water the tree when the top inch of soil feels dry, ensuring the water reaches the roots and drains properly. Avoid overwatering, as excess moisture can lead to root rot.
Fertilizing
Feed your bonsai with a balanced fertilizer during the growing season to promote healthy growth and fruiting. Switch to a fertilizer high in phosphorus and potassium during flowering and fruiting stages to encourage blossoms and improve fruit quality.
Pruning and Thinning
Regularly prune the bonsai to maintain its cascade shape and balance. Thin out excess leaves and fruits to prevent the branches from becoming overburdened. Focus on pruning during the dormant season and light trimming during the growing season.
Light and Placement
Cascade bonsais need plenty of sunlight to thrive. Place the bonsai in a location where it receives six to eight hours of direct sunlight daily. If indoors, use grow lights to supplement natural light. Elevate the pot on a stand or platform to highlight the cascading trunk.
Repotting
Repot the bonsai every two to three years to refresh the soil and manage root growth. Trim back one-third of the roots during repotting and use fresh soil to ensure the tree remains healthy and well-nourished.
Protecting Against Pests and Diseases
Inspect the bonsai regularly for signs of pests or diseases. Use organic insecticides or neem oil to treat infestations, and ensure proper airflow to prevent fungal issues.
Showcasing Your Cascade Fruit Bonsai
The cascade technique is one of the most striking bonsai styles, making it a centerpiece in any collection. Display your cascade bonsai on a tall stand or pedestal to emphasize the dramatic flow of the trunk. Surround the display with simple elements that complement the tree’s natural beauty, such as stones, moss, or a minimalist backdrop.
Conclusion
Styling a fruit bonsai with the cascade technique is a rewarding challenge that combines artistic vision with horticultural skill. By carefully shaping the tree’s trunk and branches, you can create a masterpiece that captures the essence of nature while producing miniature fruits. With patience, dedication, and proper care, your cascade fruit bonsai will become a living testament to the art of bonsai and the beauty of harmonious design.