
Growing your own herbs at home is a fantastic way to have fresh flavors at your fingertips while adding beauty to your space. One of the best ways to cultivate herbs is by making your own DIY herb planter box. A custom-built planter box allows you to design a space-efficient, stylish, and practical herb garden that fits perfectly in your kitchen, balcony, or backyard.
In this guide, you’ll learn how to build a sturdy, attractive herb planter box from scratch. Whether you want a small countertop planter or a large outdoor box, this step-by-step tutorial will help you create a perfect home for your herbs.
Why Build a DIY Herb Planter Box?
Before diving into the building process, let’s look at some of the benefits of making your own planter box instead of buying a pre-made one.
1. Custom Size and Design
A DIY planter box allows you to customize the size and shape to fit your space. Whether you need a long rectangular box for a balcony railing or a deep wooden box for a patio, you can tailor it to your needs.
2. Cost-Effective
Buying a high-quality herb planter can be expensive. With just a few affordable materials, you can build your own planter for a fraction of the cost.
3. Better Drainage and Soil Control
Many store-bought planters don’t provide proper drainage or enough space for root growth. A DIY planter box lets you design a system that ensures your herbs get healthy soil and good water drainage.
4. Eco-Friendly Option
By using reclaimed wood or repurposed materials, you can reduce waste and create a sustainable herb garden.
5. Fun and Rewarding DIY Project
Building your own planter is a fun, hands-on project that gives you a sense of accomplishment every time you harvest fresh herbs from your creation.
Materials Needed to Build a DIY Herb Planter Box
Before starting, gather the necessary materials. These items will vary depending on the size and style of your planter, but here’s a general list:
Materials:
- Wood boards (cedar, pine, or reclaimed wood)
- Wood screws or nails
- Drill or hammer
- Saw (hand saw or power saw)
- Measuring tape and pencil
- Sandpaper
- Waterproof wood sealant or paint
- Weed barrier fabric or landscape fabric
- Small stones or gravel (for drainage)
- Potting soil
- Herb plants or seeds
Optional Materials for Customization:
- Handles or hooks for easy mobility
- Decorative stain or paint
- Small legs or feet to elevate the box for better drainage
Step-by-Step Guide to Building a DIY Herb Planter Box
Step 1: Plan the Size and Shape
Before cutting any wood, decide how big you want your planter to be. Consider:
- The space where it will sit (windowsill, balcony, patio, or kitchen counter).
- How many herbs you want to plant.
- Depth (most herbs need at least 6-8 inches of soil to grow well).
For a simple rectangular 24-inch x 10-inch x 8-inch planter, you will need:
- Two 24-inch boards (long sides).
- Two 10-inch boards (short sides).
- One 24-inch x 10-inch board for the bottom.
Step 2: Cut the Wood
Use a saw to cut the wood to the desired dimensions. If you don’t have a saw, most home improvement stores will cut the wood for you.
Step 3: Sand the Edges
Smooth out rough edges using sandpaper to prevent splinters and make it easier to handle.
Step 4: Assemble the Planter Box
- Attach the short side panels to the long side panels using screws or nails.
- Secure the bottom board to complete the box.
- If you want extra stability, add L-brackets inside the corners.
Step 5: Drill Drainage Holes
Use a drill to make small holes (1/4 inch) in the bottom board to allow excess water to drain out. Proper drainage prevents root rot and overwatering.
Step 6: Apply a Waterproof Sealant
To protect your planter from moisture and extend its life, apply a non-toxic waterproof sealant or exterior paint. If using inside, make sure it’s food-safe.
Step 7: Add Drainage Layer
Place a layer of small stones or gravel at the bottom of the planter to improve drainage.
Step 8: Line with Landscape Fabric
Cut a piece of weed barrier fabric or landscape fabric and place it inside the box. This prevents soil from washing out through the drainage holes.
Step 9: Fill with Soil
Use high-quality potting soil mixed with compost to provide the best growing environment for your herbs. Avoid heavy garden soil, which can compact and limit drainage.
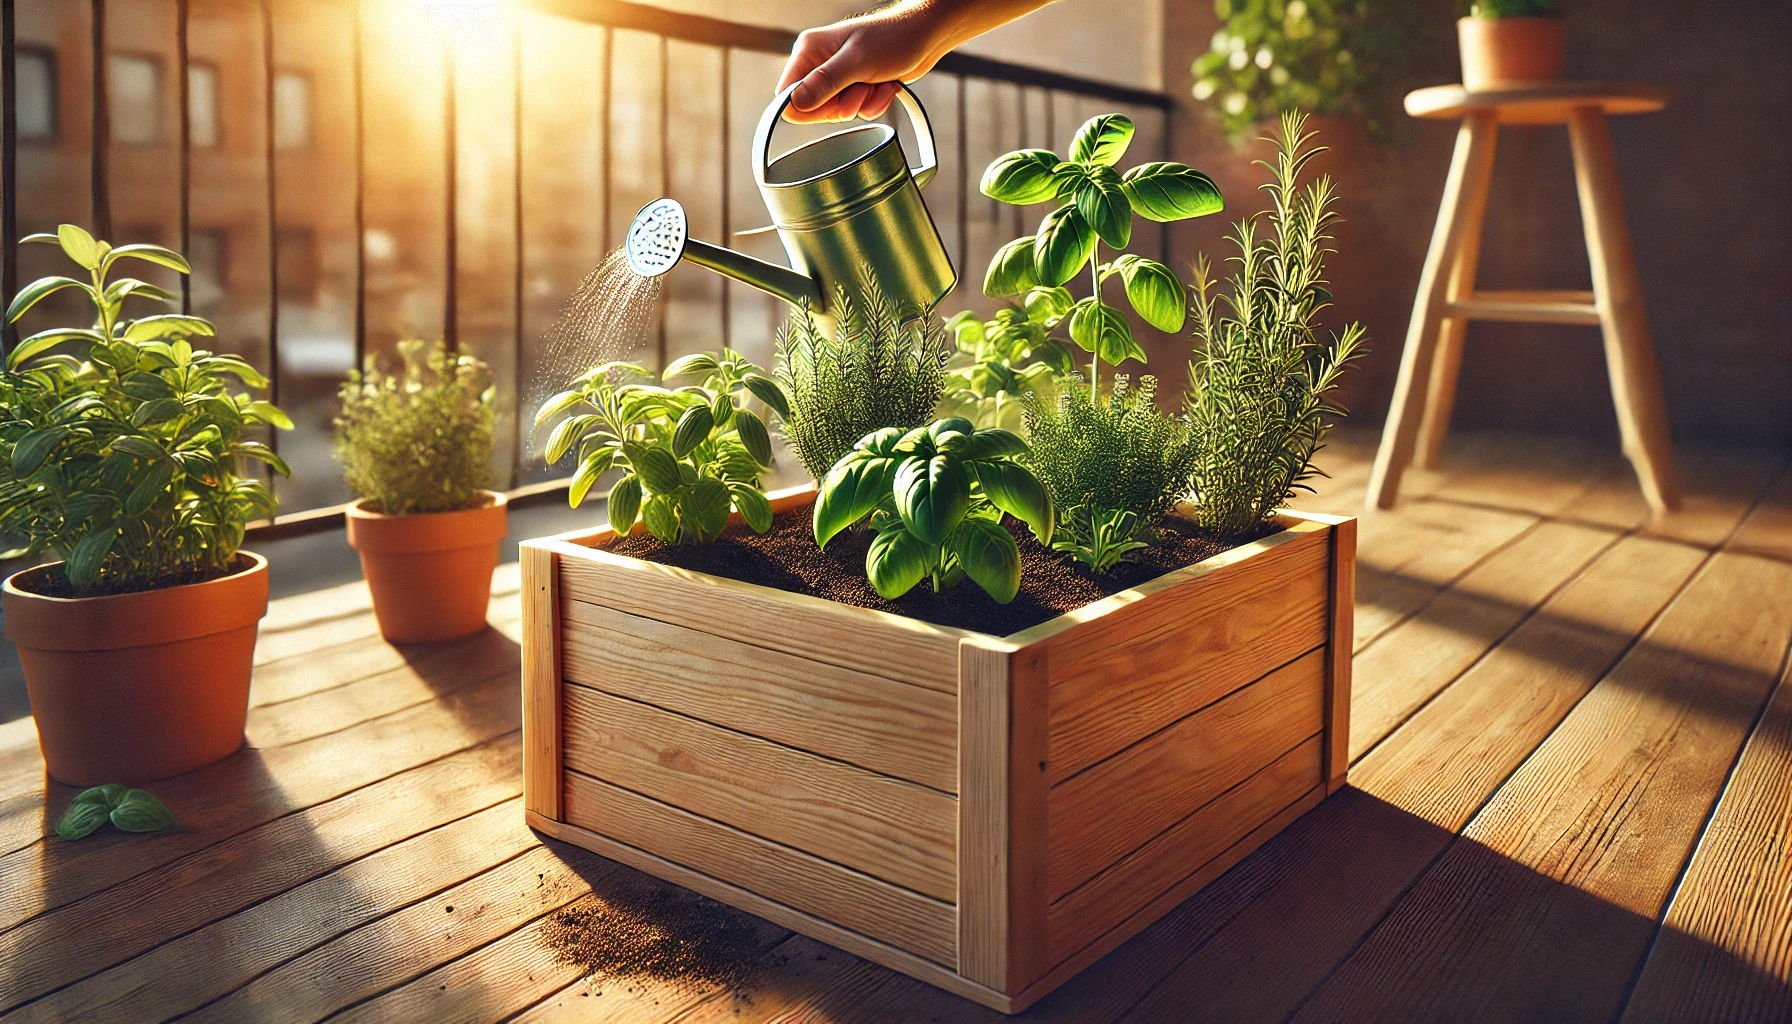
Step 10: Plant Your Herbs
Now comes the fun part—planting your herbs!
- Space herbs evenly to give them room to grow.
- Water lightly after planting.
- Label each herb so you can easily identify them.
Choosing the Best Herbs for Your DIY Planter Box
For a Sunny Spot (Full Sun – 6+ Hours Per Day)
- Basil
- Rosemary
- Thyme
- Oregano
- Sage
For Partial Sun (4-6 Hours Per Day)
- Parsley
- Mint
- Chives
- Cilantro
For Indoor Planters (Lower Light)
- Mint
- Chives
- Parsley
How to Maintain Your Herb Planter Box
Watering
- Herbs need regular watering, but avoid overwatering.
- Water when the top inch of soil feels dry.
Pruning and Harvesting
- Harvest herbs frequently to encourage growth.
- Trim basil, mint, and oregano by cutting just above a leaf pair.
Fertilizing
- Use a light organic fertilizer every 4-6 weeks.
- Avoid over-fertilizing, as it can reduce flavor.
Protecting from Pests
- Keep an eye out for aphids and whiteflies.
- Use neem oil or insecticidal soap if needed.
Customizing Your DIY Planter Box
Once your planter is built, consider adding personal touches to enhance its appearance:
- Paint or stain it to match your home décor.
- Add a chalkboard label for each herb.
- Attach handles for easy movement.
- Use vertical stacking for a tiered herb garden.
Conclusion: A Perfect Home for Your Herbs
Building your own DIY herb planter box is a fun, affordable, and practical way to grow fresh herbs at home. By customizing the size, style, and materials, you can create the perfect space for your favorite herbs while enhancing your kitchen, balcony, or patio. With proper care and regular harvesting, your herb garden will thrive and provide delicious, homegrown flavors for months to come.