
Transforming a sapling into a fruiting bonsai is a fascinating process that combines horticultural skill with artistic creativity. While the journey requires patience and dedication, the result—a thriving miniature tree producing real fruits—is incredibly rewarding. This guide provides a step-by-step approach to turning a sapling into a stunning fruiting bonsai.
Why Choose a Sapling to Start Your Bonsai Journey
Starting with a sapling offers several advantages:
- Adaptability: Young trees are easier to shape and train into the desired bonsai form.
- Cost-Effectiveness: Saplings are generally less expensive than pre-bonsai or mature trees.
- Learning Opportunity: Starting from a sapling allows you to master foundational bonsai techniques.
Step 1: Selecting the Right Sapling
The first step in creating a fruiting bonsai is choosing an appropriate sapling. Consider the following factors:
Species Selection
Choose a species known for its ability to thrive as a bonsai and produce fruits. Popular options include:
- Citrus Trees (e.g., lemon, orange): Known for their fragrant flowers and vibrant fruits.
- Pomegranate (Punica granatum): Produces striking red fruits and flowers.
- Apple (Malus spp.): Dwarf varieties like crabapple are ideal for bonsai.
- Fig (Ficus carica): Hardy and forgiving, figs are beginner-friendly.
Healthy Sapling Characteristics
When purchasing or collecting a sapling, look for:
- A strong, straight trunk with no visible damage.
- Healthy, vibrant leaves free of pests or diseases.
- A well-developed root system.
Step 2: Preparing the Sapling
Prune the Roots
Carefully inspect the root system and trim any excessively long or damaged roots. This process encourages the development of fine feeder roots, essential for bonsai aesthetics and nutrient absorption.
Initial Shaping
Before planting, remove any branches that disrupt the overall form. Focus on defining the primary structure, including the trunk and main branches.
Step 3: Choosing the Right Pot and Soil
Bonsai Pot Selection
Bonsai pots are shallow and come in various shapes and sizes. Choose one that complements the style of your bonsai and provides adequate drainage.
Soil Preparation
Bonsai soil should be well-draining to prevent root rot and compact enough to support the tree. A standard mix for fruiting bonsai includes:
- Akadama: Retains moisture while allowing air circulation.
- Pumice: Improves drainage and provides essential minerals.
- Lava Rock: Enhances structure and aeration.
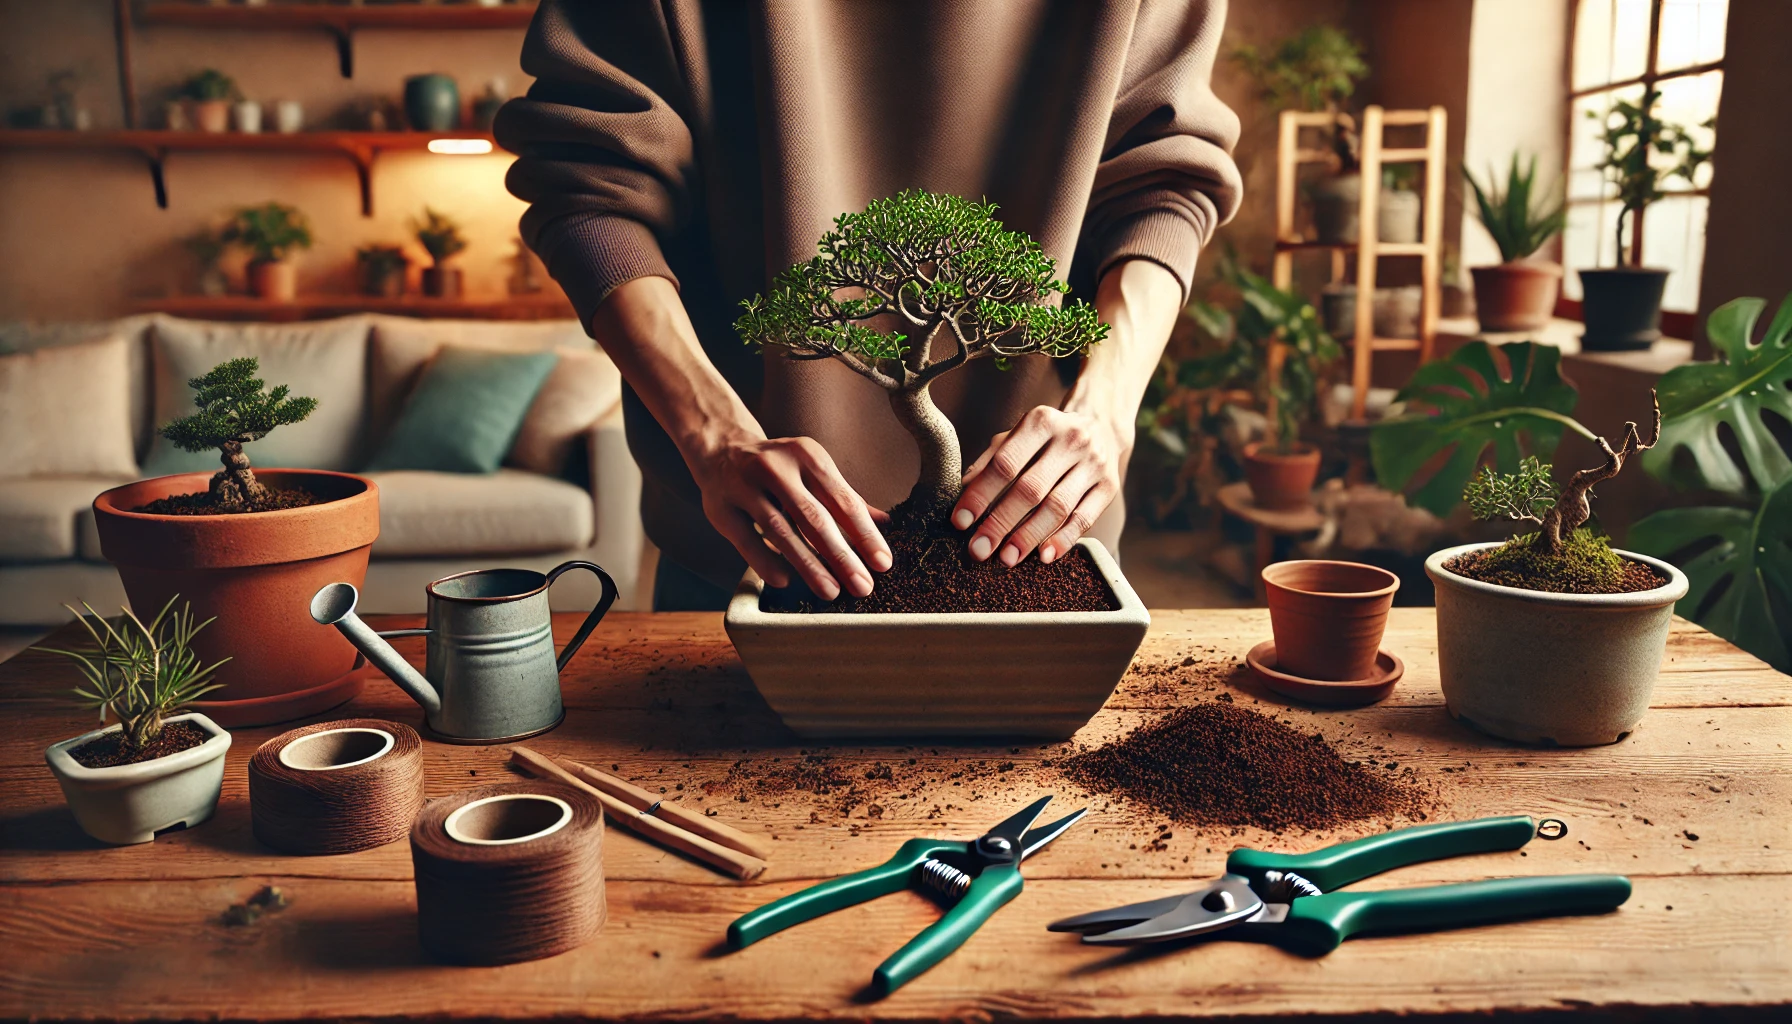
Step 4: Planting the Sapling
Gently position the sapling in the bonsai pot, spreading the roots evenly over the soil. Add the soil mix gradually, ensuring there are no air pockets. Press the soil lightly around the roots to secure the tree.
Water the bonsai thoroughly after planting to help the soil settle and provide hydration.
Step 5: Shaping the Bonsai
Shaping is a crucial aspect of bonsai artistry. Begin training your sapling by:
Wiring
Use bonsai wires to guide the growth of branches and create a pleasing form. Wrap the wire gently around the trunk and branches, bending them into the desired positions. Monitor the wires regularly to avoid scarring.
Pruning
- Structural Pruning: Focus on removing large, unwanted branches to establish the overall style.
- Maintenance Pruning: Trim smaller branches and leaves to maintain proportion and encourage new growth.
Common bonsai styles include:
- Formal Upright (Chokkan): A straight trunk with evenly spaced branches.
- Informal Upright (Moyogi): A curved trunk with asymmetrical branches.
- Cascade (Kengai): The trunk and branches cascade downward, mimicking a tree growing on a cliff.
Step 6: Encouraging Fruit Production
For your bonsai to produce fruits, it must flower first. Proper care is essential to support both processes:
Sunlight
Place your bonsai in a location with plenty of sunlight. Fruiting trees typically require 6–8 hours of direct sunlight daily.
Pollination
- If your bonsai is outdoors, natural pollinators like bees may assist.
- For indoor bonsai, use a small brush to manually transfer pollen between flowers.
Fertilization
Use a balanced fertilizer during the growing season to provide essential nutrients. Switch to a phosphorus-rich fertilizer during flowering to support fruit production.
Step 7: Seasonal Care
Spring
- Begin fertilizing as new growth appears.
- Prune lightly to shape and remove weak branches.
Summer
- Ensure the bonsai receives adequate water, as the heat can cause rapid evaporation.
- Protect the tree from intense sunlight to prevent leaf burn.
Fall
- Reduce watering and fertilization as the tree enters dormancy.
- Perform structural pruning to prepare for the next growth cycle.
Winter
- Protect your bonsai from frost by moving it indoors or using insulation.
- Avoid overwatering, as the tree’s growth slows during dormancy.
Step 8: Monitoring for Pests and Diseases
Fruiting bonsai trees are susceptible to common pests like aphids, scale insects, and spider mites. Inspect your tree regularly and treat infestations with neem oil or insecticidal soap.
Diseases such as root rot can be prevented by using well-draining soil and avoiding overwatering.
Step 9: Repotting
Repot your bonsai every 2–3 years to refresh the soil and manage root growth. Spring is the ideal time for repotting, as the tree is actively growing.
Step 10: Patience and Practice
Transforming a sapling into a fruiting bonsai is a long-term project. Celebrate small milestones, such as the first flowers or fruits, and remember that bonsai cultivation is as much about the journey as the result.
Creating a fruiting bonsai from a sapling is a rewarding and creative endeavor. By following these steps and practicing patience, you’ll nurture a miniature tree that’s not only beautiful but also a testament to your dedication.